
For some people, it can be quite challenging to implement optimal daylight in their home or building. A copious amount of sunlight indoors sounds like an excellent idea until solar heat gain and glare come along with it, driving up your energy consumption and cooling bills.
Windows are not only used to illuminate a room, but also provide outdoor connection, ventilation and egress while maintaining the comfort and satisfaction of occupants. Here’s what you need to know about daylighting.

1. The higher the windows, the deeper the daylighting zone. The sensible depth of a daylighted zone is normally around 1.5 to 2 times the head height of the window. It is possible to extend this zone further with a light shelf, a passive architectural device used to reflect daylight into an interior space. If a far-off corridor is outside this zone and separated with a glazed wall, it may be sufficiently brightened with the light spilling from the room.
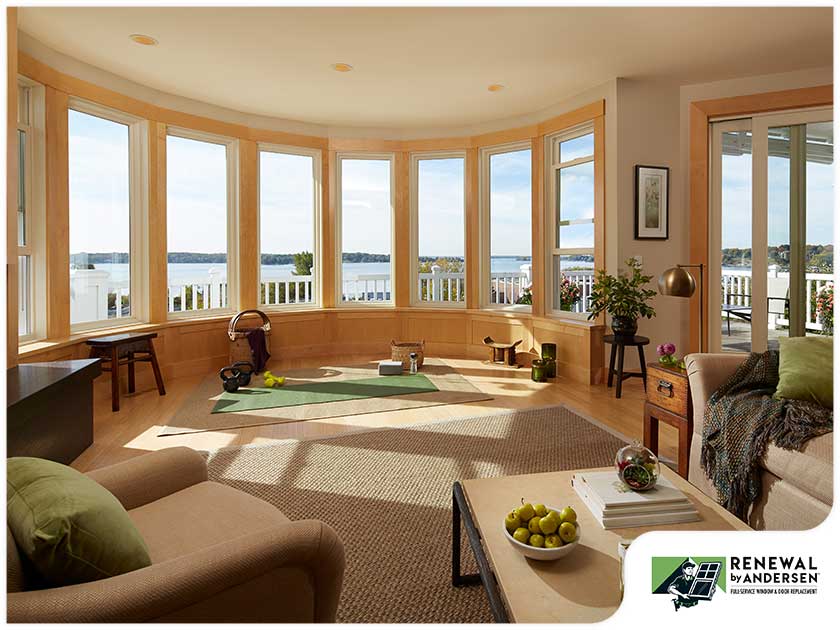
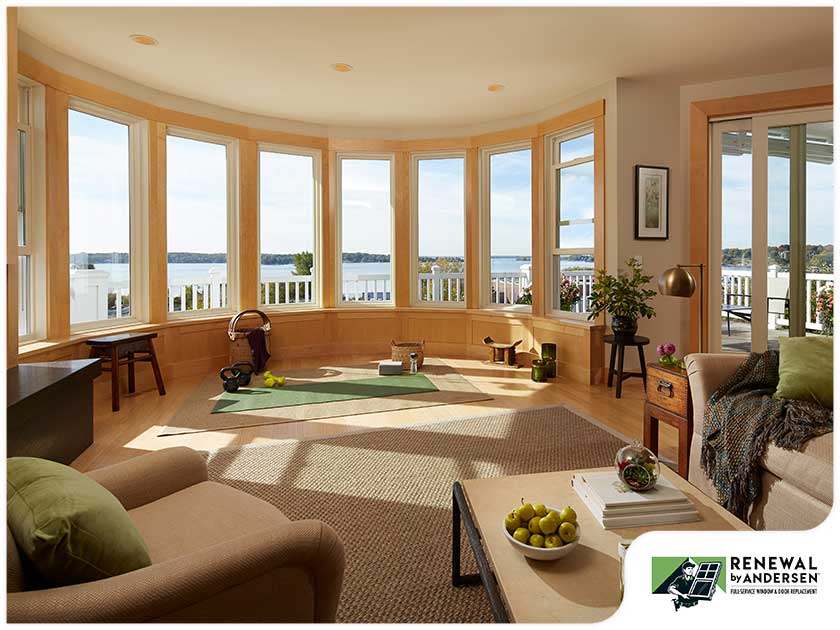
2. Strip windows offer more consistent daylight. One of the most effective methods to provide adequate, even illumination is with a continuous strip window, a series of windows that span the exterior of a home or building. While punched windows, an architectural style that features a rectangle or square window installation separate from others, are acceptable, the extended breaks between the window units can produce contrasts of light and dark areas inside the room. However, if punched windows are paired with work areas, or other glare preventive measures like splayed window openings are taken, then it is not much of a problem.
3. Larger-sized windows need more control. If you want to install larger sized windows, you must keep in mind that they will require more control. In general, the larger the size of the window, the more critical shading effectiveness and glazing selection are when it comes to controlling solar heat gain and glare. The good thing is that modern, energy-efficient windows are equipped with insulated panes of glass and low-emissivity (low-E) coatings to regulate heat loss during the winter months and improve thermal comfort.
4. Choose the glazing and size the window at the same time. Common values of visible transmittance – the measure of the visible spectrum of light transmitted through a window – among double- or triple-pane windows are between 0.30 and 0.70. As a rule of thumb, the larger the area of the glass, the lower the required value of visible transmittance. It is best to select the glazing and window area to achieve an effective aperture, which is defined as the visible light transmittance times the window-wall ratio per wall, of around 0.30.
5. Keep residents away from large areas of single-pane glass. Windows and patio doors specialists recommend avoiding installing tall, large-scale windows extremely close to areas where day-to-day tasks are commonly performed since these units can be a principal source of thermal discomfort.
6. Position windows to guide natural light onto the ceiling. Choose lofty windows if your home or building has tall ceilings. This offers the opportunity for preferable light distribution. One way to fit a high-rise window within normal floor-to-floor heights is with a sloped ceiling. It is also a smart move to keep the ceiling smooth and painted with a light shade.
7. Use more light-colored interior surfaces. To achieve a better and uniform daylight distribution, deep reveals and ceiling baffles – if they are light colored – are preferred. For buildings, keep the interior walls and furniture in a light shade in order to improve the level of interior lighting.
8. Add shading elements to windows. On windows, shading devices, whether fixed or retractable, perform different functions. For one, they help keep out excessive heat from the sun, keeping the interior space cool and comfortable throughout the day. These tools also eliminate harsh glare from direct sunlight and mitigate unpleasant daylight contrasts. For instance, overhangs can block direct sunlight and minimize glare near the window, creating a more mellow gradient in the room, but they can also reduce the availability of daylight. When it comes to shading approaches, a well-designed and well-built exterior shading system can block the sun, but enhance interior light levels better than a simple overhang.
9. Utilize horizontal window shapes. A horizontal orientation can deliver a more uniform light distribution while a vertical orientation is more likely to create dark and light contrasts. However, taller windows provide deeper penetration. Generally, long and wide windows are perceived as less glaring than tall and narrow units of the same area. But when the fundamental interest is to have a clear view of nearby items or activities, wider windows are usually favored by occupants.
10. Windows in every direction can provide useful daylight. The appropriate window orientation depends on its unique end results. For example, north-facing windows provide consistent, good-quality daylight with minimal heat gains, but yield notable thermal loss during heating conditions. South-facing windows, on the other hand, impart access to strong illumination, and shading is relatively easy to attain. Meanwhile, shading with east- and west-facing windows tends to be difficult.
11. Arrange the interiors. If the interior space is already receiving as much usable sunlight as possible through the window, a simple renovation can allow that natural light to flow further into the room. An open floor plan and careful attention to the placement of furniture are beneficial when it comes to allowing the light to come inside. In addition, anti-glare finishes and translucent glass partitions can also help bounce light through the room without producing uncomfortable glare and hot spots.
12. Place windows near room surfaces. Beams, walls and other room surfaces that bounce the sunlight inward are excellent for reflecting and redistributing essential daylight.
13. Design different apertures for view and daylight. A smart approach for exceptional daylighting and glare control is the separation of windows intended for view and daylight. On clerestory windows, which are located on the topmost portion of tall walls, use clearer, high-transmission glazing. For view windows, consider using some form of lower transmission glazing for superior glare control. The structure between the two provides a much-needed visual break and a chance to attach a shading device or light shelf.
14. Use shelves wisely. If you want to improve light distribution and reduce glare, shelves are often used. Shelves are best used on the south side of the building and can double as shading devices. While exterior shelves are typically better than interior shelves, both kinds are great for year-round distribution.
Let in as much natural light as possible into your home with beautiful and energy-efficient replacement windows from Renewal by Andersen® of Nashville. From traditional double-hung and casement windows to custom-fit picture windows, sliding patio doors and French patio doors, our certified installers have got you covered. We ensure the comfort and satisfaction that each and every client in Nashville, TN, deserves by delivering industry-leading products and outstanding customer service. Call us at 866-609-5033 to set up an appointment or request a free, no-obligation quote. You may also fill out our contact form to reach us.