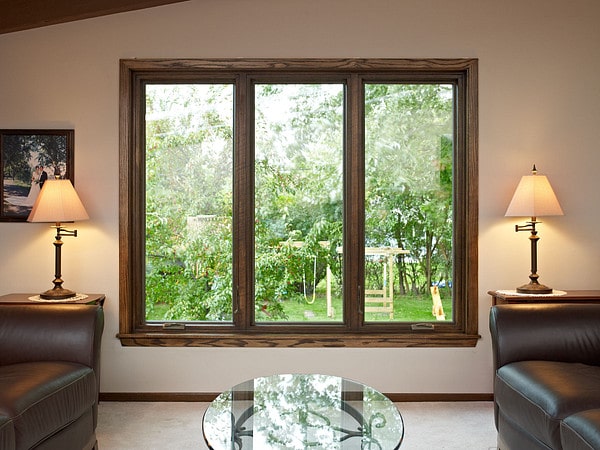
For many homeowners, cleaning the windows ranks right up there in popularity with unstopping a clogged toilet. It’s labor-intensive, can involve running back and forth dozens of times to get that last smudge off the exterior surface, and even requires athletic skills – such as climbing a ladder and maintaining your balance while stretching to wash, rinse and buff some 15 feet above the ground. You could hire a professional window cleaning crew to clean your windows, but that means spending the time to get references from your friends, checking out potential contractors’ reputations with the BBB and online review sites, and adding another line item to the budget.
If you’ve been thinking about updating your home with modern, high-quality replacement windows, there is good news! Factory-applied coatings added to replacement window glass during the construction process actually eliminates almost 100% of those annoying water-spots. Studies confirm 95% to 99% of water spots completely disappear when direct sunlight hits the special glass panes of your Renewal by Andersen of New Jersey and New York Metro replacement windows. No scrubbing, no buffing and no cash investment required!
Of course, it is still a very good idea to clean your windows to get the tougher dirt off occasionally. This also gives you an opportunity to check the weather stripping, locks, sealants and other components that can weaken with age and normal use. Professional window washers recommend homeowners clean – or hire a crew to clean – their windows “regularly,” meaning every two to three months. We gathered some tips from the experts to put together a list of helpful suggestions to help you establish your own window cleaning schedule and routine.
#1. Start with at least a bi-annual schedule during the fall and spring to coincide with getting your home ready for seasonal extremes. For your energy bill’s sake, it’s recommended to repair or replace windows that allow excessive air to flow from indoors out or vice versa during moderate weather, rather than waiting until you are freezing or sweating profusely. Mark it on your calendar for the second week in April and the second week in October (oops, you’re late already), weather permitting, of course.
#2. Familiarize yourself with window components, and make sure you know how to remove any detachable parts without damaging them. Check out the links to short videos at the bottom of this article should you need more information about your Renewal by Andersen replacement windows.
#3. Tilt-to-clean and lift-out replacement styles make it easy for you to reach both interior and exterior surfaces from inside your home. You may still need to climb a ladder to reach windows higher on the wall. If you must climb a ladder, arrange for someone to help you, and to spot you from the ground.
#4. Choose an overcast day. Direct sun activates the water spot banishing technology built into your energy-efficient replacement windows, but it also escalates evaporation, which can lead to streaks.
#5. Gather wash bucket, spray bottle, clean, dry, lint-free rags for washing and drying, a small squeegee, mild cleaning solution or homemade vinegar wash, and a soft bristle brush. A vacuum with a crevice attachment is handy for cleaning the tracks on patio doors and sliding windows.
#6. Remove grilles and screens before starting. It is best to work on one window at a time, carefully cleaning the frames, tracks, visible weather stripping, hardware, levers and glass. Then, wash grilles and screens, and re-install them before moving to the window.
#7. Work in a top to bottom fashion, moving around the room from right to left. This ensures any dust that falls from above will end up on the lower fixtures or the floor, and you only have to clean the floor once, saving you valuable time.
#8. Brush away dust and debris before adding water to the equation. If you spray your windows without the preemptive wipe down, the water will just cause mud to develop. A soft bristle brush or clean, lint-free rag is best for this step.
#9. Avoid harsh chemicals that can damage finishes on hardware and frames.
#10. Do not use sharp metal scrapers to remove stuck on debris as these could scratch your glass. Apply a little more elbow grease, or allow the soap or vinegar solution to sit on the grime for a few minutes to soften it up and encourage removal.
#11. Make notes during cleaning sessions about damage to any part of your window. If your replacement windows are still under warranty, contact your dealer as soon as possible to schedule an inspection. Otherwise, make arrangements for the repair to prevent further damage from developing.
Cleaning your windows doesn’t have to be a labor-intensive or difficult when you have modern, high-performance Renewal by Andersen of New Jersey & New York Metro replacement windows and patio doors in your home. Considering upgrading your home windows before winter? Have a question about cleaning and maintenance? Take a minute to fill in the short form on this page or speak to a replacement window consultant by dialing (866) 609-5033.
Renewal by Andersen Care & Maintenance Guide (PDF)
Cleaning Casement Replacement Windows
Cleaning Double-Hung Replacement Windows
Installing Your TruScene Insect Screens and Cleaning Your Insect Screens
Learn Everything You Need to Know BEFORE Buying Replacement Windows